From the bench of David B. Lindow:
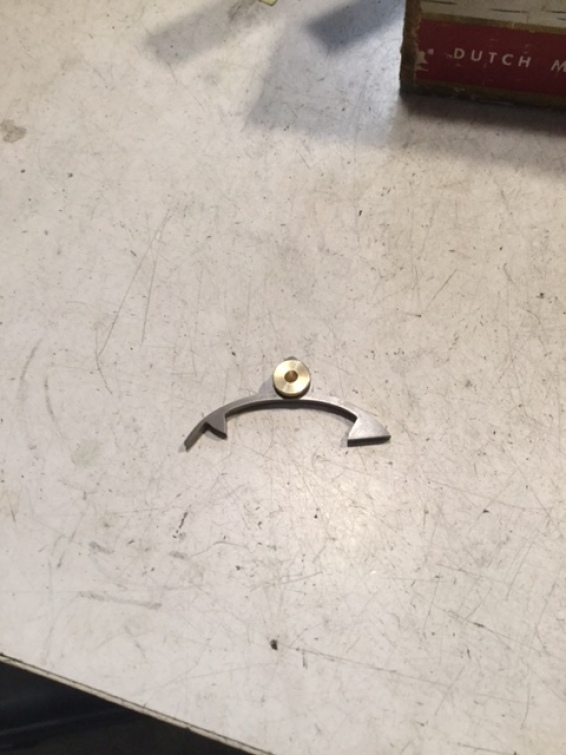
The anchor from a John Miller 8 day tall clock was broken and needed to be replaced in order for the clock to be operational. The pieces from the original were still with the clock, but it was broken in half.
 O-1, oil hardening steel, was chosen for the replacement anchor. The original pieces were used to trace the original shape. Dykem layout die was used so that it was easier to see where the cuts were being made, and the anchor was roughed out on a band saw. Be sure to hold parts of this nature with smooth vice jaws.
 O-1, oil hardening steel, was chosen for the replacement anchor. The original pieces were used to trace the original shape. Dykem layout die was used so that it was easier to see where the cuts were being made, and the anchor was roughed out on a band saw. Be sure to hold parts of this nature with smooth vice jaws.
A depthing tool was used to set the pallet faces precisely where they needed to be. The part is taken out of the tool, filed a small amount, and retested until it operates perfectly. The depthing tool distance was set by taking an average of the pivot distance on the front and back of the pates. The anchor was held on its bore by using a combination of a trumpet runner and a large cone runner.
———————————————————

Once the anchor was filed in and the pallets polished to a mirror the rest was cleaned up using ever finer abrasives until the desired finish was obtained. This one was polished; however, because it was going into a period tall clock some pits, file marks, and flaws were left to match period work. Wet dry paper was used starting with 220 grit and taken up to 600 grit. On period clocks anything higher will usually renders too fine a finish to match. The pallet faces are polished to 2500 grit, however.
Once the anchor was polished it was heat treated by heating it to cherry red and quenching it in oil. We use olive oil instead of mineral oil as the cooling properties are very similar, and it doesn’t smell as bad after quenching hot pieces. Polishing the part before it’s heat treated makes it much easier to do the final finish.
___
It must be checked with a file to be certain it’s hard, and then the finish is brought back up so as to eve able to see when the anchor becomes a “straw” color and is tempered back so as to not be so brittle.
___
The central area is softened a good deal more than the pallet faces to allow for future adjustment after the inevitable wear which the anchor will eventually incur. If the entire anchor is left quite hard the chance of breakage increases dramatically. The part can be tempered simply by using a torch or by putting it in the oven at 400 degrees for an hour. If the oven is used it is suggested that the center area still be brought up to the point of being annealed.
The anchor is then brought back up to a polish with abrasive paper.
____

Tool black is used to oxidize the anchor and bring up a color that will match the rest of the movement.
_________

____________
Once the part is blackened it’s scrubbed with “Bar Keeper’s Friend” which will usually bring up a period looking finish on steel and brass.
_________

+++
The restored movement awaiting the anchor.
+++
____
The anchor with the bushing made. The bushing matches the rest of the clock’s bushings.
____
The bushing required a very light press which was done in the arbor press.
+++
Once the bushing has been peened into anchor it was to opened up with a drill and reamer to match the existing shaft.

+++
The anchor is then pressed onto the shaft in the arbor press, and they assembly is fitted to the movement.
_____


Outstanding insight into the work you do, thank you for sharing.
LikeLike